Project: Paint a Fantasy Creature
A step-by-step guide to painting a four-legged beast from start to finish
~5 min read
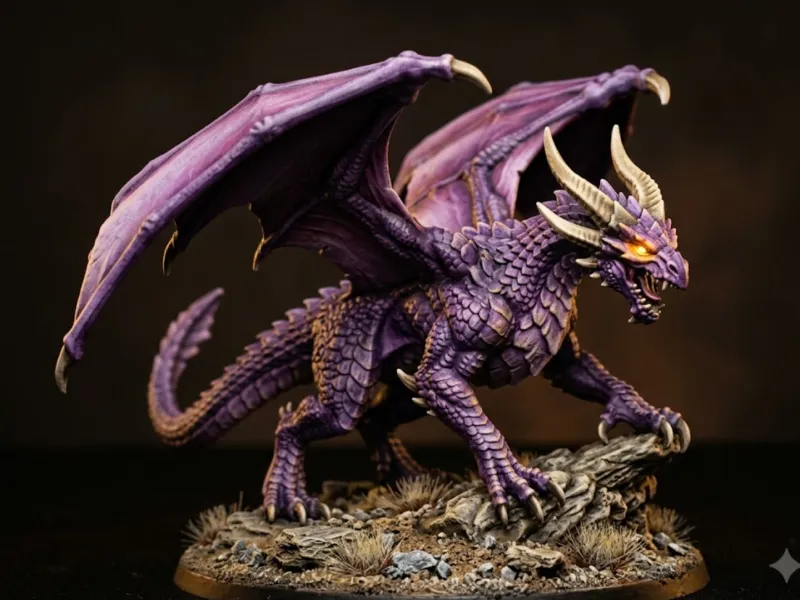
Time to put your skills to work. In this project, you'll paint a fantasy creature — think of a large, four-legged beast with fur, feathers, or scales, a beak or maw, and claws. This could be an owlbear, a griffon hatchling, a chimeric predator, or any similar creature from your collection. The techniques we'll use — basecoating, washing, and drybrushing — work on any organic creature model.
Gather your supplies before starting: your primed model, two or three base colors (a body color, a secondary color for claws/beak, and an accent), a dark wash, a lighter shade for drybrushing, and brushes. A wet palette will keep your paints workable throughout the session.
Prime the Model
Apply a thin, even coat of primer to the entire model. Grey primer is the most versatile choice for creatures — it works well under both light and dark colors. Make sure the primer covers every surface but doesn't obscure detail. Let it dry completely before moving on.
Basecoat the Body
Choose your creature's main body color — earthy browns and greys work well for beasts. Thin the paint to a milk-like consistency and apply two thin coats over the fur, skin, or scales. Cover the entire body area, working from the top down. Don't worry about being perfectly neat near the transition to other areas.
Basecoat the Details
Paint the beak, claws, horns, or teeth with a contrasting color. Bone or ivory works for natural-looking claws and beaks. If the creature has wings, a paler or darker shade of the body color creates visual interest. Two thin coats for each area.
Apply the Wash
Apply a dark brown or black wash over the entire model. Be generous but controlled — let the wash flow into all the recesses, fur texture, feather lines, and muscle definition. This single step adds enormous depth and brings out all the sculpted detail. Let it dry completely — fifteen minutes minimum, thirty is safer, and it must be fully matte-dry before you paint over it.
Drybrush the Highlights
Take a lighter shade of your body color (or mix your body color with a bit of off-white), load an old brush, wipe most of the paint off on a paper towel, and lightly drag it across the fur, scales, or raised muscles. The paint catches the high points and creates instant highlights. Build up gradually — you can always add more.
Finish the Base
Apply texture paint or PVA glue and sand to the base. Once dry, paint it an earthy brown, drybrush with a lighter tan, and add a static grass tuft or two for life. Paint the rim black for a clean finish.
Don't be afraid to go back and touch up any areas that need it. Painting isn't a strictly linear process — going back to refine is part of the workflow.
You just painted a complete miniature from start to finish. Look at it from three feet away — it looks great, doesn't it? Ready to paint your own creature with colors matched to your paint collection? Generate a custom guide with your paints and get personalized color recommendations.
Sign in to track your progress