Project: Paint a Terrain Piece
Transform a plain terrain piece into a realistic battlefield feature
~4 min read
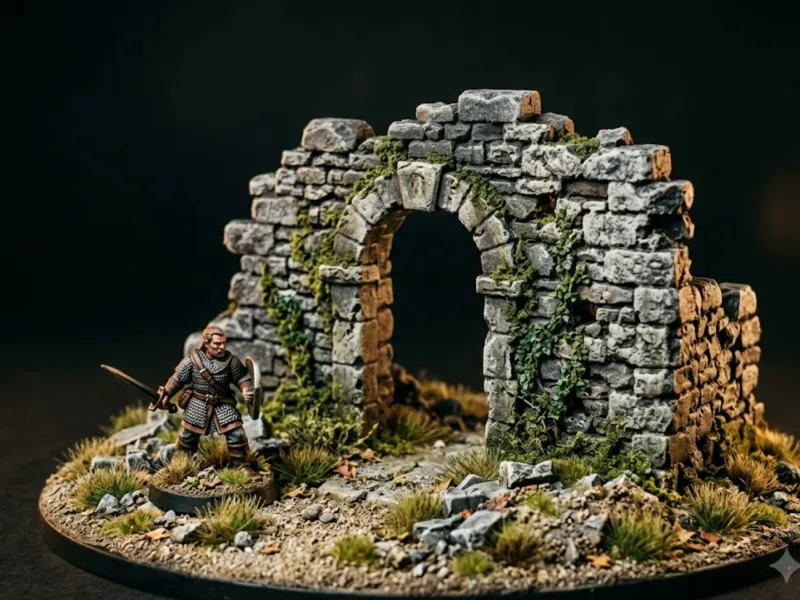
Painted terrain transforms a gaming table from a flat surface with cardboard boxes into an immersive battlefield. In this project, you'll paint a small terrain piece — a ruined wall, a rocky outcrop, a crumbling pillar, or any chunk of scenery. Terrain painting is fast, forgiving, and incredibly satisfying because drybrushing (the easiest technique) does most of the heavy lifting.
You'll need: a primed terrain piece, a dark base color, a mid-tone, a light highlight color, a wash (brown or black), and optionally some static grass or tufts for finishing. Large or cheap brushes work best for terrain — save your good brushes for miniatures.
Prime Dark
Prime the entire piece black or very dark grey. For terrain, spray primer is especially useful because terrain pieces tend to be large with lots of nooks and crannies that are tedious to reach with a brush. A dark primer provides built-in shadows in any spots you miss.
Heavy Drybrush the Mid-Tone
Load a large, stiff brush with your mid-tone color (medium grey for stone, brown for earth, sandy beige for desert). Wipe off most of the paint, but leave more than you would for a normal drybrush — this is a heavy drybrush. Drag the brush across all surfaces, covering the majority of the piece. The dark primer should still show in the deepest recesses.
Light Drybrush the Highlights
Now do a proper light drybrush with a pale shade — light grey, off-white, or pale bone. Wipe the brush thoroughly on a paper towel and use a very light touch. This catches only the sharpest edges and highest points, creating natural-looking highlights. The piece should now have a clear gradient from dark recesses to bright edges.
Wash for Depth and Grime
Apply a brown or black wash generously over the entire piece. This settles into the texture, adds grime and weathering, and blends the drybrush layers together. Brown wash gives a warmer, earthy feel; black wash gives a colder, grimier look. You can even mix them. Let it dry completely.
Optional Detail Pass
Add interest with small details: paint patches of green or brown for moss and lichen, dab rust-colored paint on any metal elements, or pick out brickwork with a slightly different stone color. These details aren't necessary, but they make terrain feel lived-in and realistic.
Finish and Flock
Glue static grass tufts, flock, or small rocks to the base and any flat surfaces where vegetation would grow. A few well-placed tufts turn plain stone into terrain that feels part of a real landscape. Seal the piece with a matte varnish spray if you want to protect it from handling during games.
Terrain is the perfect place to practice techniques without pressure. Nobody inspects terrain up close — it just needs to look good from playing distance. Use terrain painting to build confidence with drybrushing and washing before applying those skills to your miniatures.
A painted gaming table makes every game more immersive. Even a few painted terrain pieces alongside your painted miniatures create an experience that grey plastic never can. Want to paint terrain that matches a specific environment? Generate a custom guide and get a step-by-step plan tailored to your paints and vision.
Sign in to track your progress